Last Updated on January 19, 2022 by Niks
You can reheat leftover grits, allowing you to conserve any leftovers or prepare the recipe ahead of time. Grits can be reheated on the stovetop, in the microwave, or in the oven, depending on the method. Learn how to reheat grits in the next section, as well as some other information you should be aware of.
Grits need to be reheated appropriately in order to get the best results. A warm supper with flavour and texture that rivals that of a freshly prepared meal will be produced as a consequence of this method.
How To Reheat Grits the Best?
-
The Grits May Be Reheated On The Stove


Grits are best heated on the burner, which is the recommended method. With this approach, you may cook faster, have greater control over the heating element’s temperature, and quickly add additional liquid if necessary. Let’s discuss how to reheat grits using stove:-
- Grits should be cooked on a non-stick pan.
- Add a tiny bit of milk, water, or broth to the meal to make it more palatable.
- Reheat the grits on a low heat setting until warm.
- The meal should be regularly stirred.
- If the grits become too thick or lumpy, a bit of extra liquid should be added.
- Stirring will cause the crumbs to crumble. This step will guarantee that the dish has a consistent texture throughout.
- Make sure the grits don’t stick to the bottom of the pan by scraping it clean.
- Verify that the dish has been heated through. It’ll be ready in a few minutes tops.
-
Microwave the Grits Until They are Warm


It is possible to reheat grits in the microwave, although this is not the most efficient method. This solution is simple and quick to implement. Also keep in mind that if the meal is not thoroughly reheated, it may become too rough to consume. Check out how to reheat grits using microwave:-
- Put the grits in a container that is safe for the microwave.
- Add a tiny quantity of water, milk, or broth and mix well.
- For 30 seconds, microwave the grits in a microwave-safe dish.
- Bring back to a medium temperature for approximately 30 seconds.
- Take the grits out of the microwave and give them a nice swirl to combine the flavours.
- If extra liquid is required, add it.
- Heat the dish for another 30 seconds to 1 minute on the stovetop.
- Verify that the dish has been heated through.
- Serve the food to your guests once it’s ready.
-
Reheat The Grits in the Oven


Grits may be reheated in the oven without risk of contamination. They will not, however, get the same outcomes as they would if they used a cooktop. Use caution while using this procedure since grits can rapidly dry out or thicken if not handled properly.
- Grind up the grits and put them in an oven-safe container.
- 350 degrees Fahrenheit or180 degrees Celsius is what you need for cooking.
- Pour a little amount of liquid into the grits, such as water, milk, or broth.
- Cover the container with a covering that fits snugly.
- Cooking the grits in the oven is a wise idea.
- Cook for 2 to 3 minutes on low heat.
- If extra liquid is necessary, add it. Then, reheat the dish in the oven one more.
- Inspect the dish to verify if it has been cooked through thoroughly.
- Serve the food to your guests once you’ve made it.
Frequently Asked Questions are included below
-
What Exactly Are Grits?


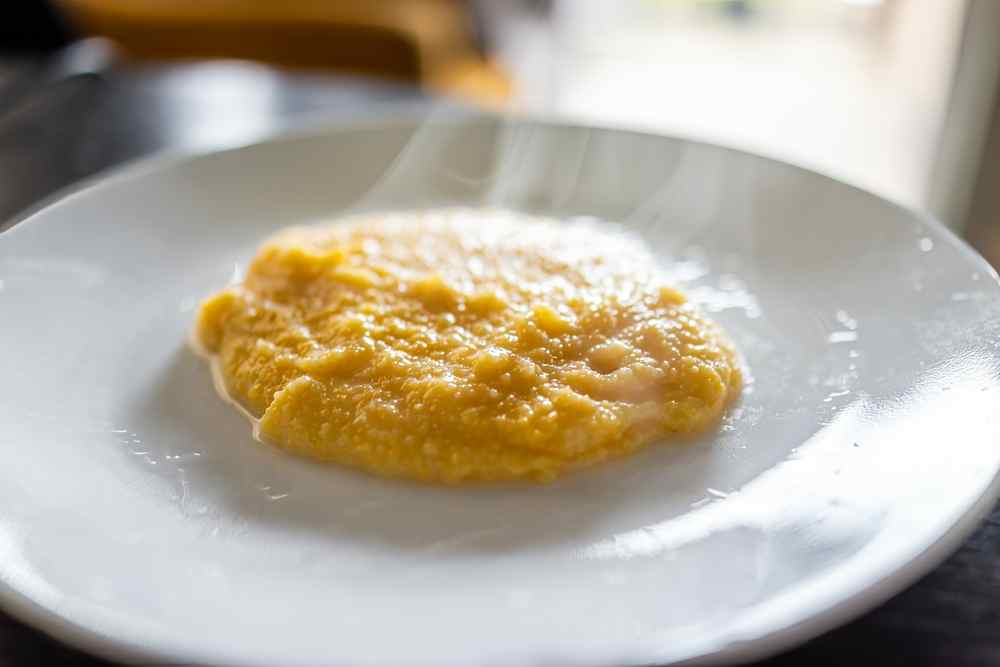
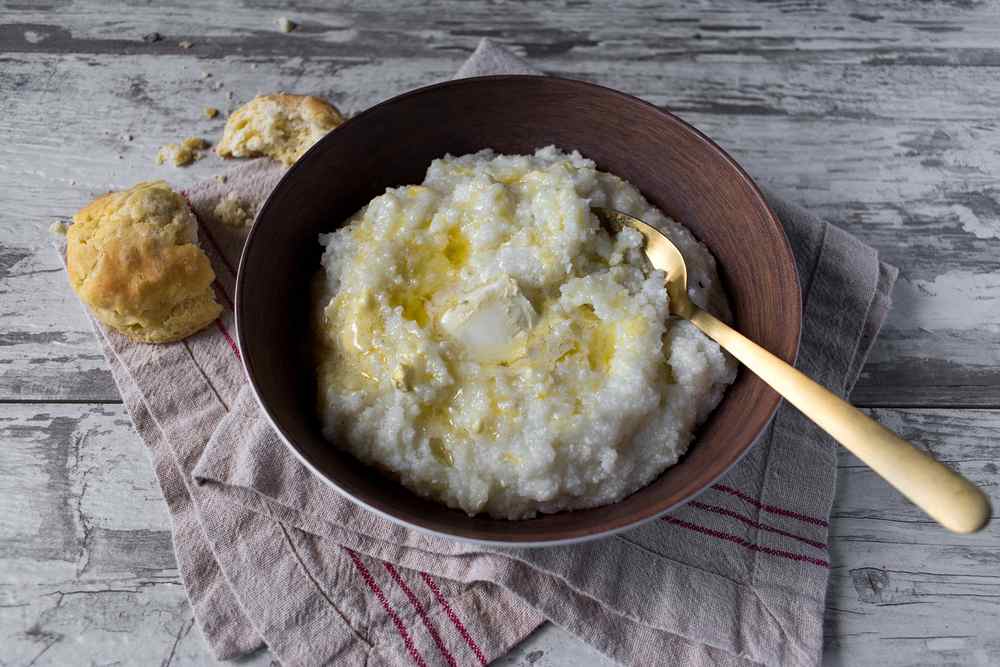
Grits are created from maize that has been boiled in liquid such as water, milk, or broth. They are frequently served as a breakfast meal or as a vegetable side dish. Grits go nicely with a wide range of ingredients, including cheese, ham, bacon, shrimp, veggies, mushrooms, and other delectable dishes.
-
Is there a better way to keep grits fresh?
If you put grits in the refrigerator, they will survive for around 5-6 days. Grits that have been left in the refrigerator for more than 7 days may become bad and germs may grow. In the freezer, the dish will keep for approximately a month, according to the manufacturer.
With that in mind, be cautious if you plan on adding any perishable ingredients to the mix. This will cause the grits’ shelf life to be significantly reduced.
After that, place the dish in the refrigerator after taking the necessary precautions. When it comes time to consume the grits, make sure to warm them thoroughly before serving.


To keep grits from clumping together when they are frozen, put them in a plate or container. After that, wrap the grits in plastic wrap to keep out any air that could get in. Prior to freezing, allow them to cool completely.
If you decide to store the grits in the freezer, make sure to use containers that are only large enough to accommodate one or two servings. This step allows you to quickly and effectively reheat the exact number of grits that you require.
-
How Can You Tell If Your Grits Have Gone Stale?
Colour, flavour, and odour are all symptoms that your grits have been spoilt, and you should look for these indicators when cooking.


When the grits’ colour becomes yellow, or if the meal tastes bitter and foul, it indicates that the grits have been spoiled. Besides that, decaying grits have an unpleasant sour taste, and the fragrance does not include any traces of cornmeal. Otherwise, you should toss the dish out of your sight.
Final Words
Grits may be reheated in a variety of methods depending on your available resources, personal preferences, and time restrictions. It is highly advised that you make advantage of the range. However, the microwave and the oven can also be used as substitutes. Whichever alternative you choose, you will be able to have a filling and delightful meal at your leisure.


How to Reheat Grits
Ingredients
- Stove
- Grits
- Non Stick Pan
- Milk
Instructions
- Grits should be cooked on a non-stick pan
- Add a tiny bit of milk, water, or broth to the meal to make it more palatable.
- Reheat the grits on a low heat setting until warm
- The meal should be regularly stirred.
- If the grits become too thick or lumpy, a bit of extra liquid should be added.
- Stirring will cause the crumbs to crumble. This step will guarantee that the dish has a consistent texture throughout.
- Make sure the grits don't stick to the bottom of the pan by scraping it clean.
- Verify that the dish has been heated through. It'll be ready in a few minutes tops.


